


How to have a beautiful port de bras
Part 1: Once you learn this arm preparation, you'll stand out.

“Port de bras” in French means the “carriage of the arms.” This is not the same as “epaulement,” whose translation is “shouldering.” When we talk about port de bras in ballet, we are referring to the way the arms move. Generally, the greatest dancers have a beautiful quality of movement that all other dancers desire to imitate in their own dancing.
But is port de bras an all or none situation? Is it something you have or don’t have as a dancer?
And maybe more importantly—is a beautiful port de bras something that everyone can have?
I’ve recently heard many ballet school, teachers, and dancers say that everyone can have beautiful port de bras. I agree with that statement. But how?
“Port de bras is the most difficult part of the dance, requiring the greatest amount of work and concentration.” — Agrippina Vaganova
Port de bras not only has to look good, it also has to be useful. There are some basics when it comes to using your arms, and if you can practice them diligently, you can uncover a beautiful port de bras that helps your dancing.
So how do we unlock the power and beauty of your arms?
Always remember what Spiderman’s uncle said,
“Great power comes with great responsibility.”
That means you have to have a strong core as your foundation before you can even think to move your arms. So if you need a refresh about how to establish a strong core, I suggest you read this first about finding your core.
Two things in the way of your port de bras
There are two big common mistakes I see in every class that restrict dancers from having strong port de bras. First, is the shoulders moving simultaneously with the arms. Second, is putting too much focus on the end part of your arms, which are your hands. Both are important to talk about, but it would be too long for an email…so I’m going to talk only about the first one.
Shoulders moving (fused) with the arms
From my experience, about 97% of people in a ballet class will have this issue. This is a big mistake, which breaks the line of the arms, and restricts the arms from being free. Plus, the force you produce while shoulders are “fused” will be inaccurate and could injure you badly, like causing a shoulder dislocation.
I remember my shoulders dislocating during partnering class. It was very painful experience. Basically, when your shoulders are fused and then you add force to it, your arms will separate from your shoulder.
Now imagine going into a preparation for a combination at the barre. Your arms always go from a relaxed state to fifth low position to get ready for the combination. When you are getting into the fifth low position, do your shoulders move forward? Or do your shoulder muscles tense up?
During a combination, your arms might go to a second position. Have you ever gotten the correction, “keep your shoulders back,” or “keep your shoulders down?” Is it your habit to notice your elbows behind your shoulders?
When you are doing a pirouette, are your shoulders rounded forward? Perhaps your elbows are dropped?
That comes from this specific mistake of shoulders being fused with arms. This means that when your arms move, your shoulders move with them. Your shoulders can move your whole arms, but there needs to be a separation between your arms and your shoulders.
Let’s fix this
This will be separated in parts. This week our goal is to talk about part one: How to go into preparatory (fifth low) position.
To set the foundation of the arm position, we can base it off of Vaganova’s definition of arm positions. I will be paraphrasing it off the definition she wrote in her book, Basic Principles of Classical Ballet:
Part 1: Preparatory position, often referred as fifth low, is to have placement of arms dropped. Hands faced inward are closed, but not touching. Elbows are slightly rounded. And armpit is not touching.
Part 2: First position is to have arms raised in front of the body on the level with the diaphragm. Elbows are more bent than second position.
Part 3. Second position is to have arms at the side. Elbows are well held up and slightly rounded, but more straight than first position. Shoulders are not drawn back or raised. Forearms are in extension of the level of elbows. Hands should not hang, but have to be held up.
Part 4: Third (or fifth high) is to have the arms raised over the head. Elbows rounded. Palms inward. Hands closed but not touching. Hands must be forward enough so that you can see them without raising your head.
First things first: You must always rely on your core for everything. So know how to engage your abs the way I have explained in my previous newsletters. (link here)
Second, we need to make sure that muscles around your shoulder areas are not tight. Here is how to release that area. (link here)
If you want to know more about separating your arms from your shoulders. (link here)
Learning tip:
This might be very difficult—as many things in ballet are—so be patient. Do these movements slowly and start small. When you learn a new movement pattern, you want to allow your movements to communicate with your neurological system. When your body moves correctly, it starts to adapt. And if you move it incorrectly after learning the correct movement, sometimes you’ll feel aches and pains. Take it slowly and listen to your body’s feedback.
I always took the aches and pains as a sign of pinpointing some incorrect movement. When I feel the pain, I know I’m doing something wrong. That gave me a good indication of where I might need to work.
How to go from relaxed arms into preparatory (fifth low) position
The first thing you must do is always the same: Engage your abs, so that your spine doesn’t get in the way of what you are trying to achieve. Once you are ready with your foundation—a strong and engaged core—then you can move on to anchoring what needs to be stabilized…
Your shoulders.
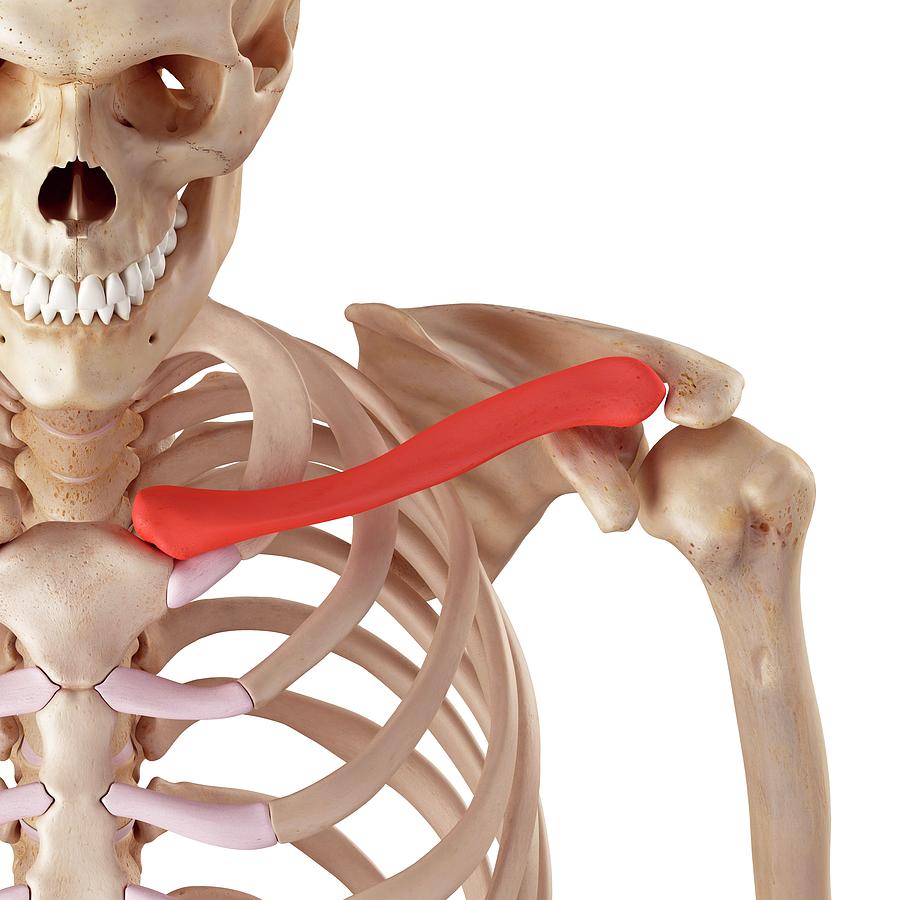
The way you anchor your shoulder is by engaging a muscle called the rhomboid major. It is located under the big triangle muscle called the trapezius. The rhomboid rotates the bottom tip of your shoulder blades towards the upper thoracic segment of your spine.

This also feels like turning out your shoulder clavicles, but when you focus on turning out the clavicles, many people often end up arching their upper spine or their chest pulls up. We don’t want these things. So be careful of avoiding that before we move into port de bras.
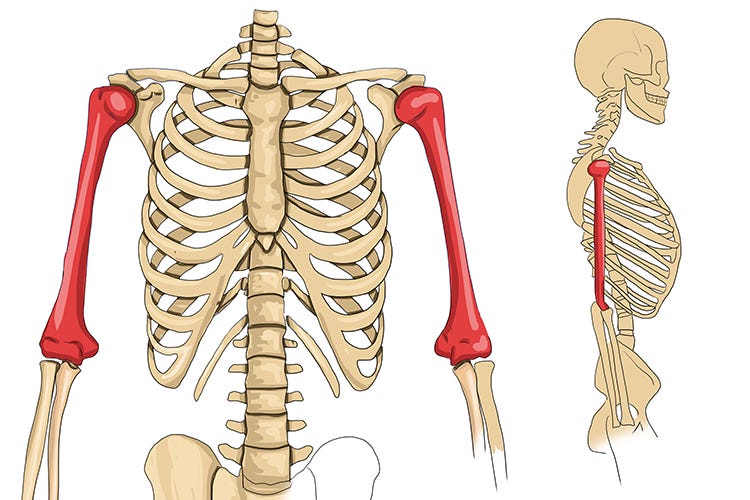
This anchoring of your shoulder blades allows you to separate the movement of the humerus. The humerus is the first bone in your arms, that moves your whole arms around. If you move your humerus up, your whole arms goes up. If you rotate your humerus, your whole arms rotates.
So with that knowledge, we can go from relaxed arms to fifth low.
In the relaxed state, elbows are slightly bent, and the inside of your elbows are facing forward. We want to rotate your humerus inward so that the inside of your elbows perfectly face each other. This rotation of the humerus should create the space in the armpit so that it is not touching. Please keep your elbows bent, otherwise you cannot create space in the armpit.
While you move your humerus, keep your forearms relaxed or dangling, so that they don’t interfere while you learn to move only the humerus.
This movement typically moves the shoulders forward. That is a mistake. Typically that’s because your rotator cuffs and teres major are tight. So you must take care of those tight muscles so you can rotate your humerus separately.
When the inside of your elbows face together, then bring your elbows in front of the body, and place it in the position where your preparation would be. Keep the inside of elbows facing together.
When you do this, you want to have your forearms dangled and relaxed still. If you rotate your forearms before moving the humerus, it puts the movement out of correct sequence and makes arm joints fused, and will also break the free movements of port de bras.
Just like you want to separate your shoulders from your humerus, you also want to separate forearms from humerus. You want freedom in your joints. Notice how I’ve never said to “hold” or “lock” anything. I only talk about direction (where elbows face, where arms rest) to create space in the right places.
You have a lot of details up until this point…but, here’s good news to make this easy. It involves the use of your pecs (aka your chest muscles):
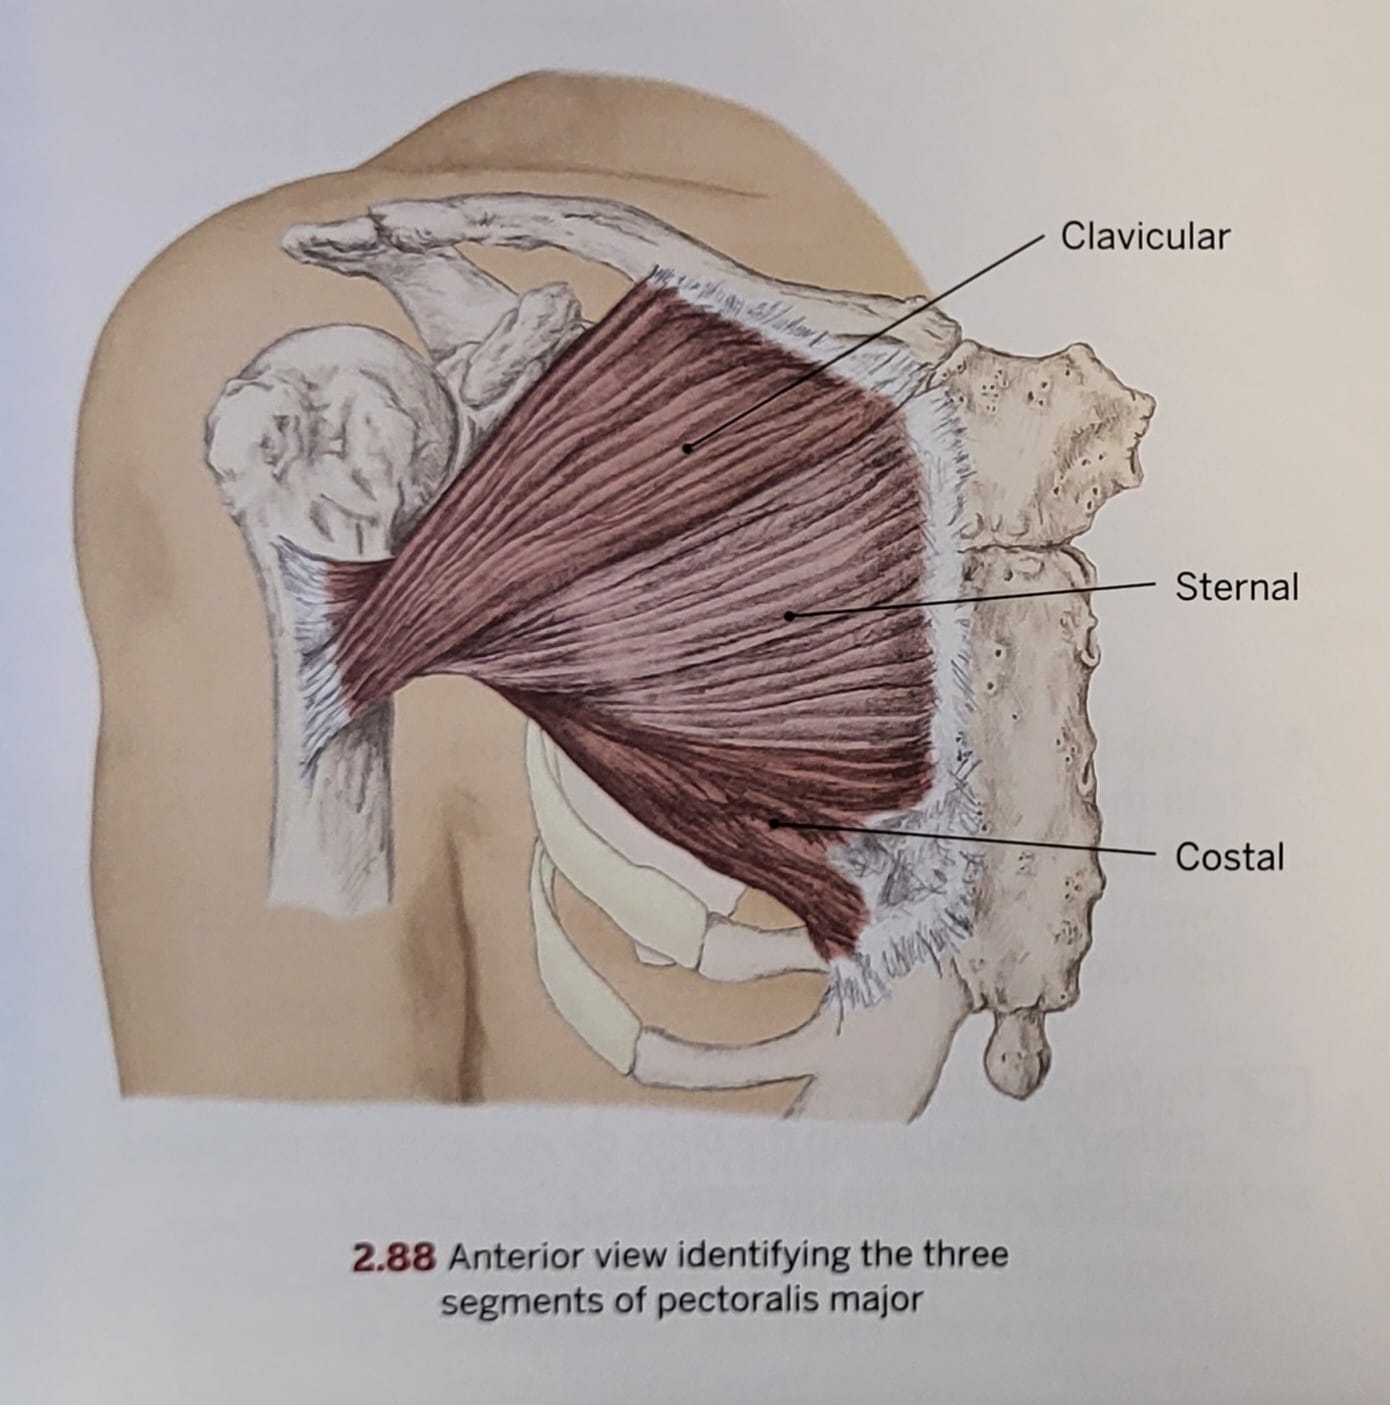
This is pectoralis major (pecs): These are the muscles that rotate the humerus and bring the humerus forward. The upper half of your pecs will rotate and bring your humerus forward.
The pecs attach to the inside of your clavicles, and to the humerus. This means that your pecs will move your whole arm by bringing your humerus close to the center of chest.
The last thing you need to do
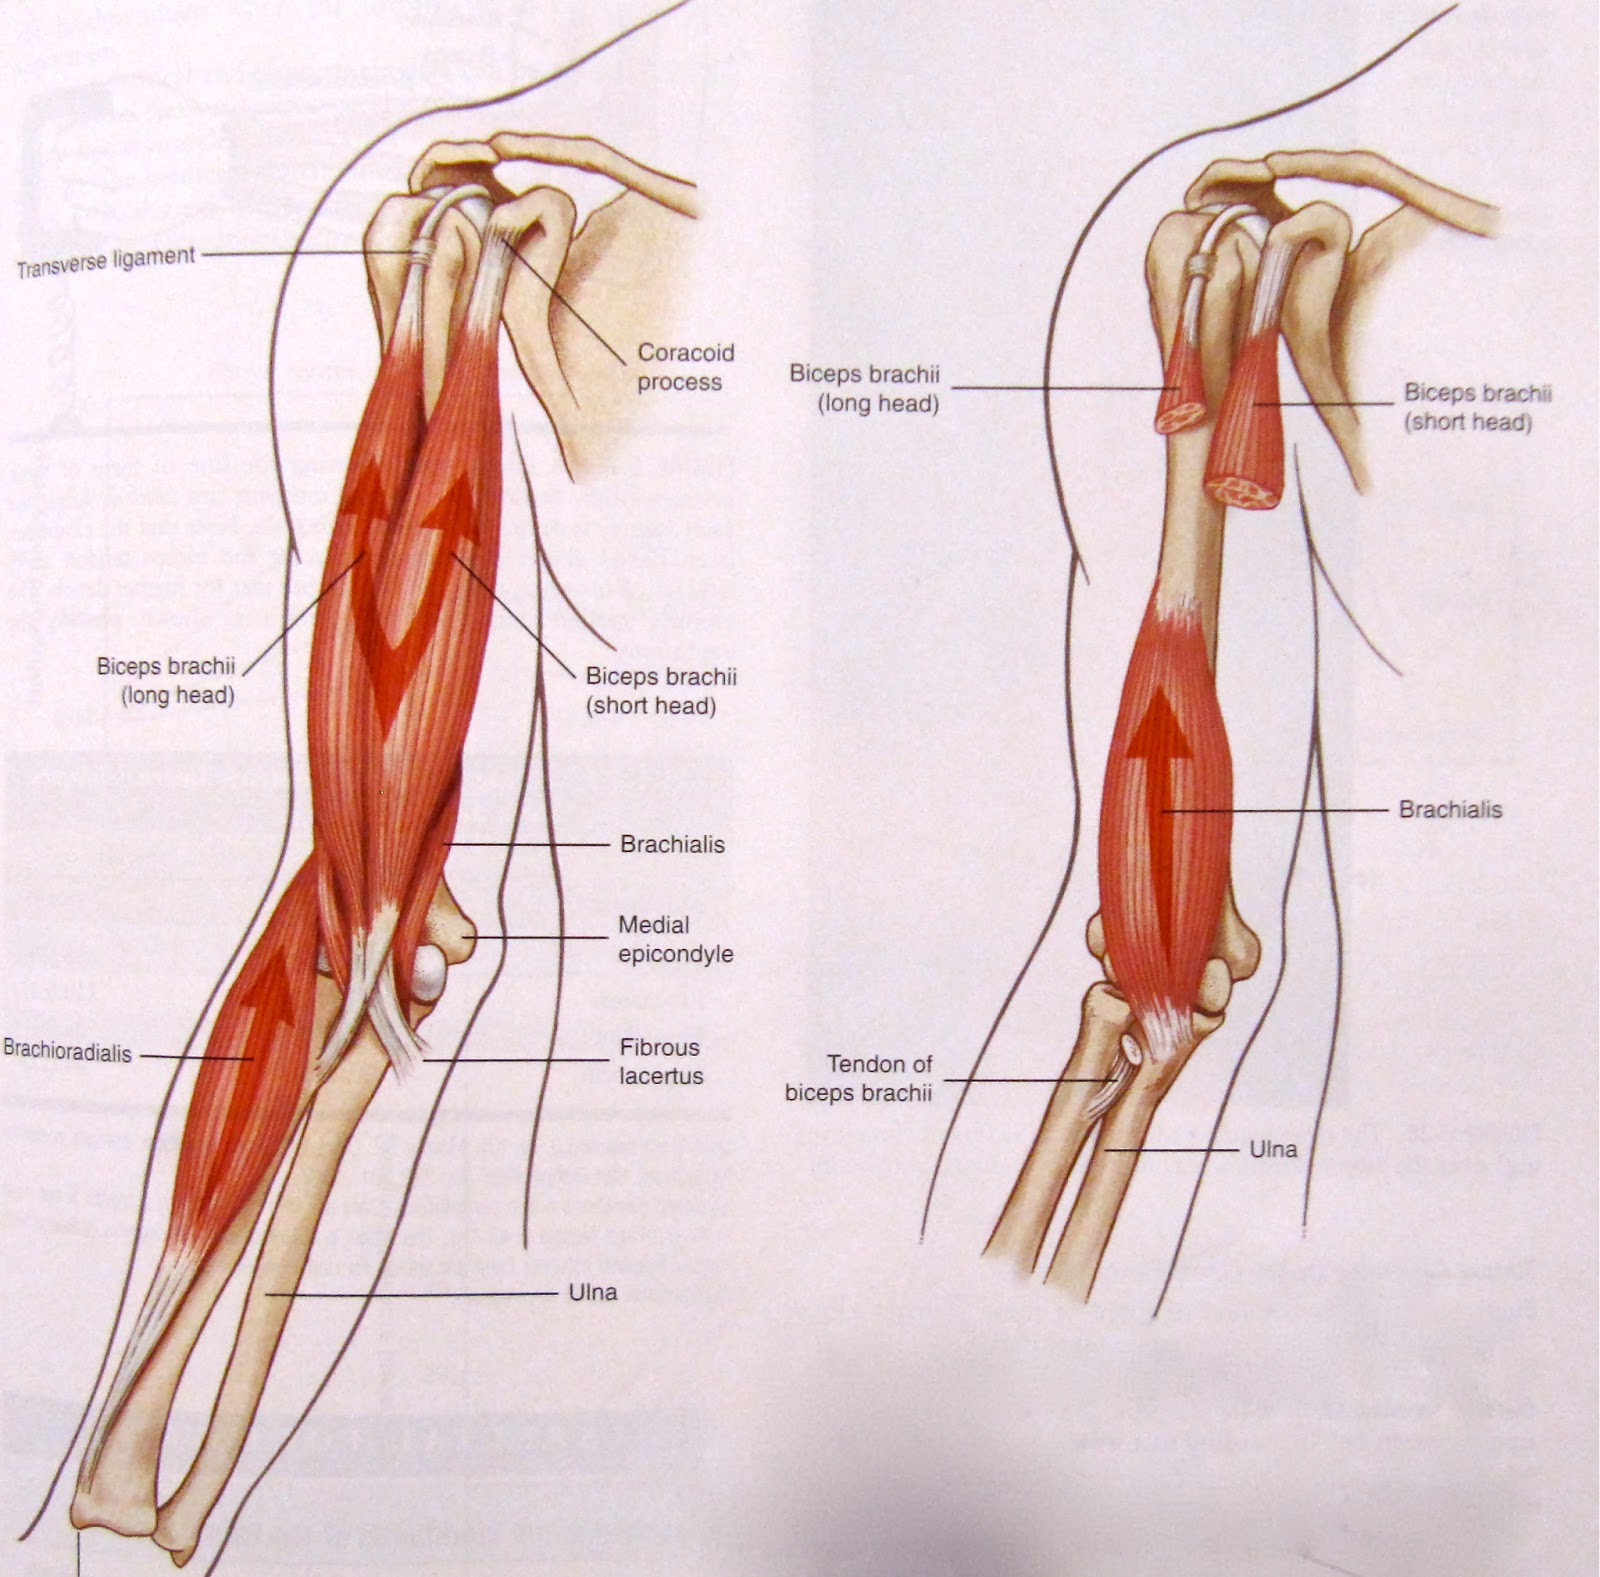
Rotate your forearms and bring your palms facing inward. Do this rotation of forearm by flexing your biceps. When you flex your biceps, like you are doing biceps curls, it rotates your forearms. It also rounds your elbows.
There! Now you are in low fifth, prepared and ready to go for the combination.
Notice that when you prepare correctly, your elbows can bend freely and not be held, and your elbows can move up and down, out and in freely.
Someone looking at you will see a nice and rounded and well-held arm position. And from your perspective, you will be breathing into your abs, chest engaged, shoulders free.
Arms in a nutshell
Engage your core.
Stabilize and anchor your shoulder blades.
Only rotate your humerus pulled by pecs (relax and dangle your forearms).
Keep rotating your humerus and bring it slightly in front of body so it doesn’t touch the body.
Rotate your forearms by flexing your biceps and bring your palms facing inward.
Preparation is the most important part of the port de bras (carriage of the arms). If you can set yourself up correctly to the beginning position, only then can you achieve a truly good and useful port de bras.
I agree with Vaganova—port de bras is arguably the most difficult part of dancing. But start with this strong foundation, follow it for every class, and you will start building the beginning of some beautiful arm movement.
No more copying other dancer’s port de bras for you.
You’ll be the one people will eventually look to.
We will build on this knowledge to learn more about port de bras. There’s so much, and I’m excited to break it down for you. Send me your questions. And like and share Ballet Wizard if you got value from it. It helps to reach more dancers so that they can know what I know.